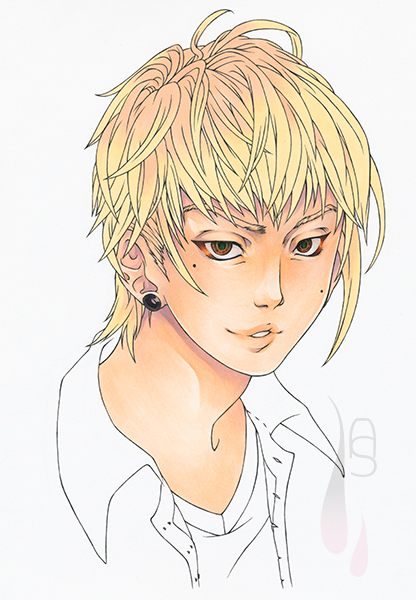
Tutorial

BASICS | Short Straight Hair
  • tool: markers
  • difficulty: medium
Hello and welcome to my tutorial section!

Manga and anime characters can have all sorts of hair styles, and even those, which don’t follow the rules of gravity at all, but I like to keep the hair on the realistic side, as well as its colouring.

Step 1

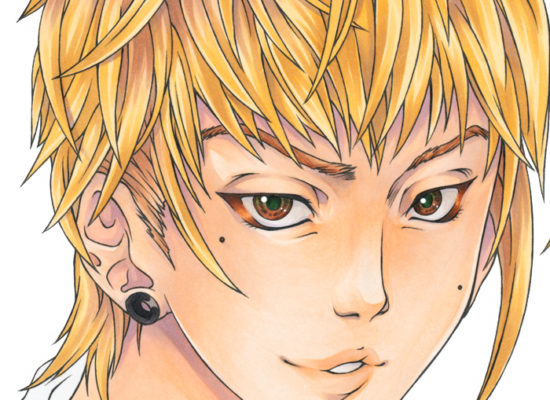
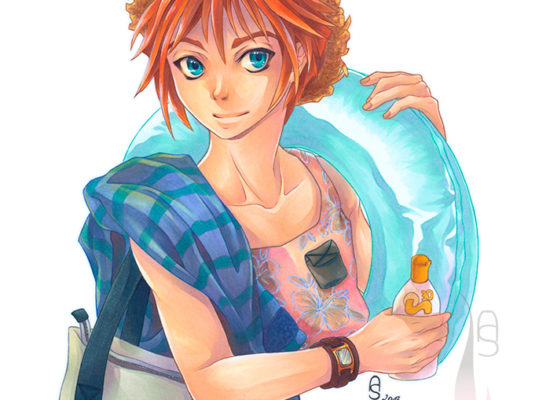
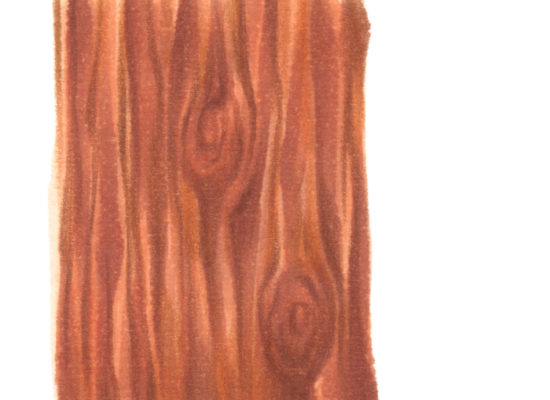
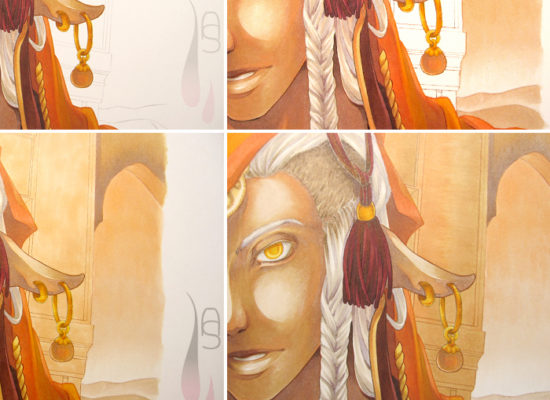
For some reason I wanted my character to display two slightly different hair colours. He has bleached hair, though his natural colour has grown out quite a bit. I chose a vanilla colour for the darker roots and buttercup for the bleached tips. These two colours also serve as the highlights later on. 
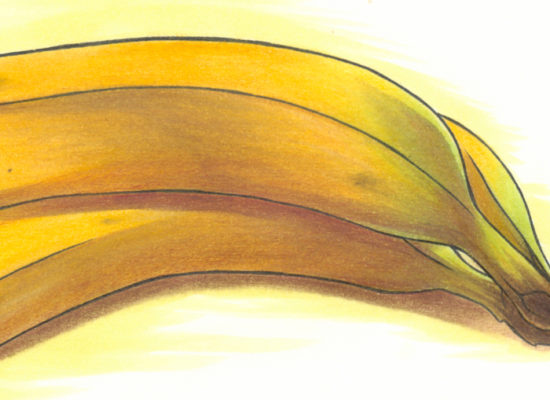
For this step it is essential to work fast and to concentrate on one strand at a time. The best blending result will be obtained while the colours are still wet. I start with the vanilla colour and with the brush nib I draw downward the hair strand and lift the pressure with a flicking motion upwards to get the typical ‘pointed ends’ of the lines (about 1/3rd of the strand from the top). Exactly the same is done with the buttercup colour, with the exception of starting on the tip of the strand and blend the yellow into the vanilla this way.

In case this seems a bit too difficult for anyone, who just started using markers, it is perfectly fine to just use a single colour as the base. For the following steps you would only need one colour instead of two for the details.

A tutorial on how to colour short manga hair with markers.
Step 2

Next comes the definition of the hair by adding details to the strands. The base colour practically functions as the highlight, which is the reason why I leave parts of it visible. Again, with the brush nib I apply shorter strokes with a flicking motion for the ‘pointed ends’ of these strokes. I use a reddish yellow for the bleached parts and a rose beige for the natural hair colour. Parts of the hair that are lying in shadow, I colour fully.

A tutorial on how to colour short manga hair with markers.
Step 3

The hair is now starting to take shape and I want to add some more prominent shadows on the hair with a lighter blueish purple. Purples are very versatile and I find them to be perfect for colouring shadows. It also makes the blonde hair look more dynamic, because purple is the complementary colour to yellow.

A tutorial on how to colour short manga hair with markers.
Step 4

In this step I want to tone down the blonde hair just a bit and add more details to the natural hair colour. What I am doing here is the same as in step 2, only with the difference that I use two other colours. I sparingly use a medium beige on top of the details in the bleached hair, and add more details with the flicking motion of the brush nib of an ash coloured beige on the non-dyed hair.

A tutorial on how to colour short manga hair with markers.
Step 5

So far I am happy with the result, but I am not yet satisfied with his natural hair colour. Due to the ash coloured beige and blueish purple the hair in those parts, it looks slightly too greyish. In order to give the hair some of its warmth back, I apply a medium beige on top of the darker details. Again, I only do it sparingly to get that hint of colour back.

A tutorial on how to colour short manga hair with markers.

 
With this the hair is finished and I hope it doesn’t look as intimidating as it might have at the beginning of this tutorial.

 
© Aileen Strauch, first published on the Letraset art blog in 2013