Tutorial

BASICS | Light Skin
  • tool: markers
  • difficulty: medium

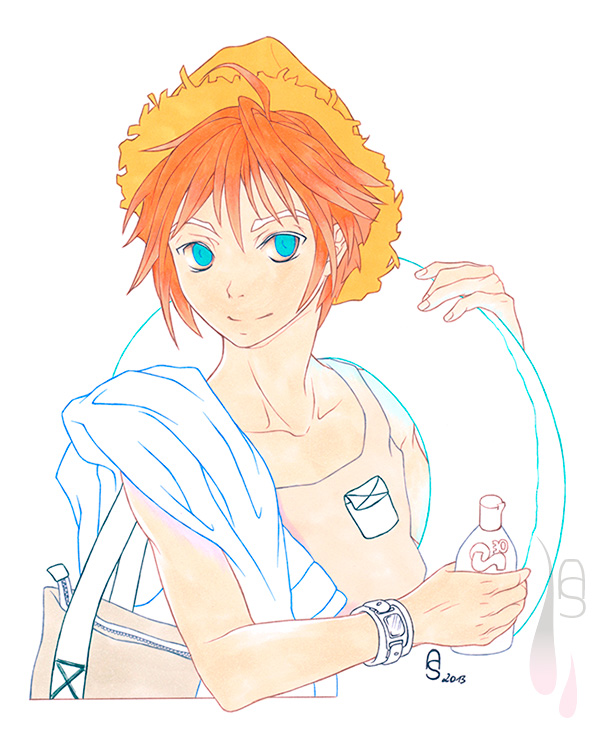
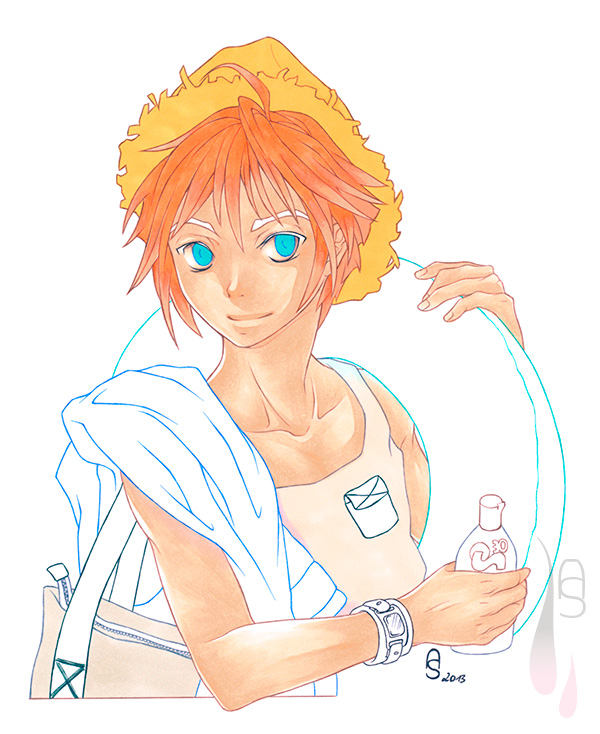
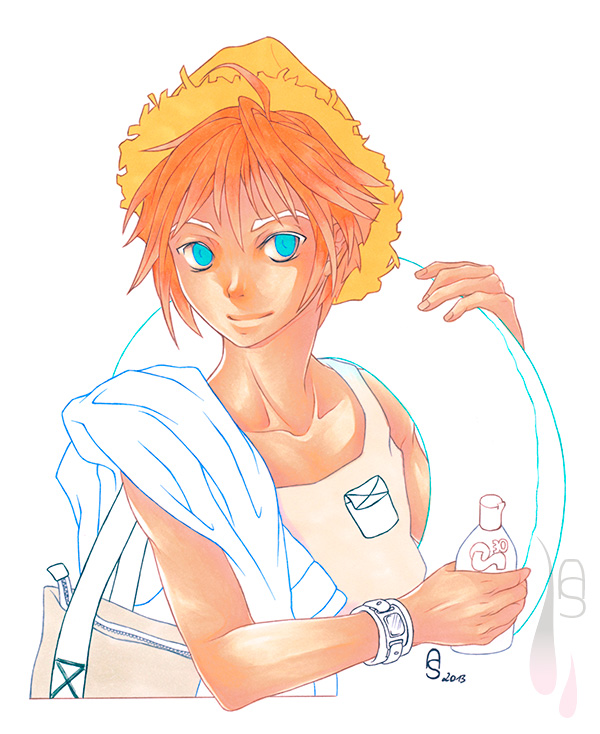
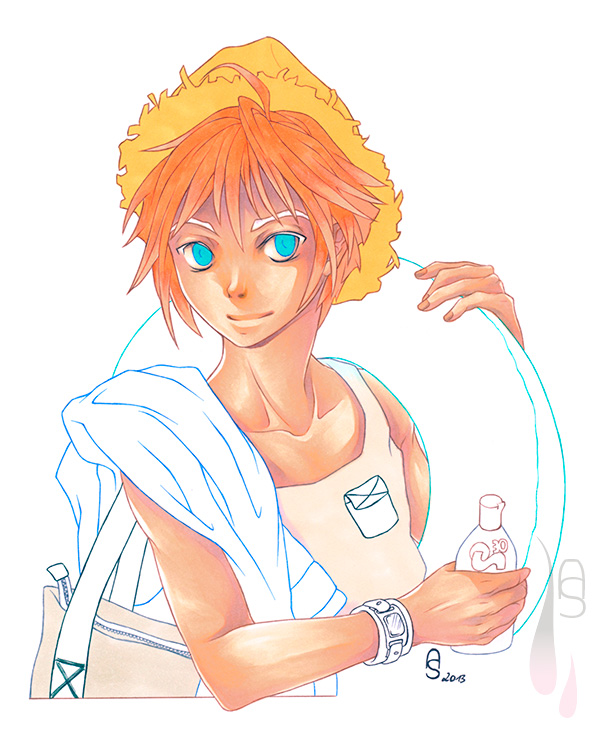
With the summer finally arrived, and it being rather hot at that as well, I went for a summer inspired motif. Grab the swimming gear and off to the beach, or pool, or lake, or… just something wet.

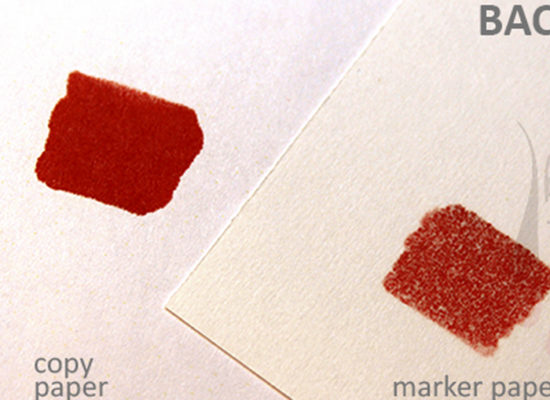
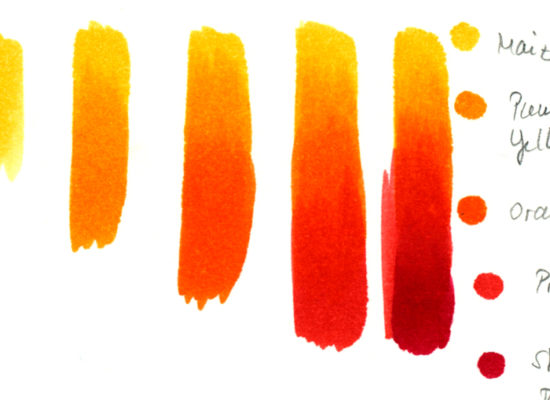
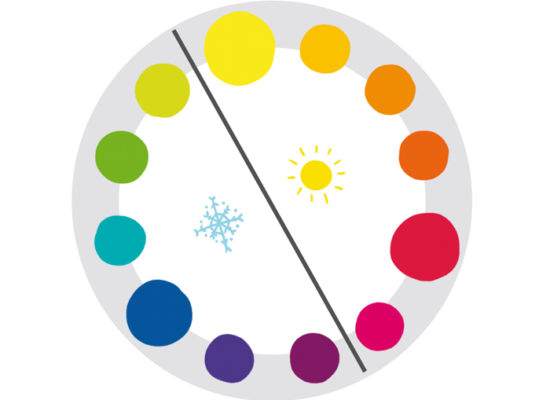
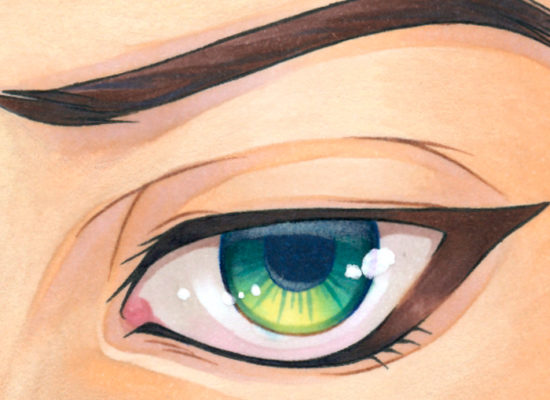
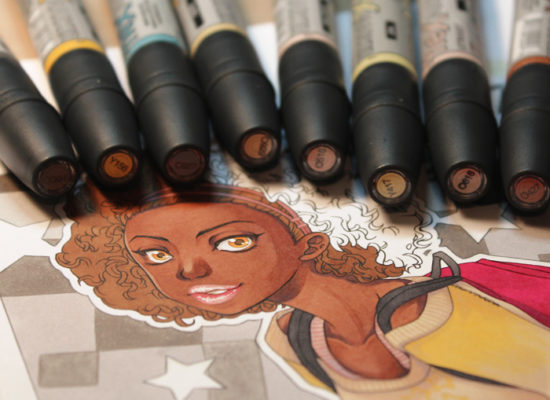
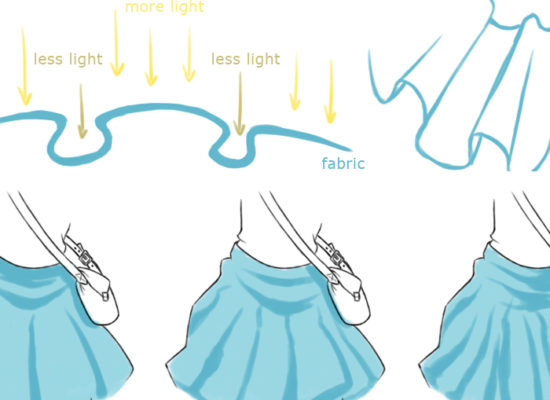
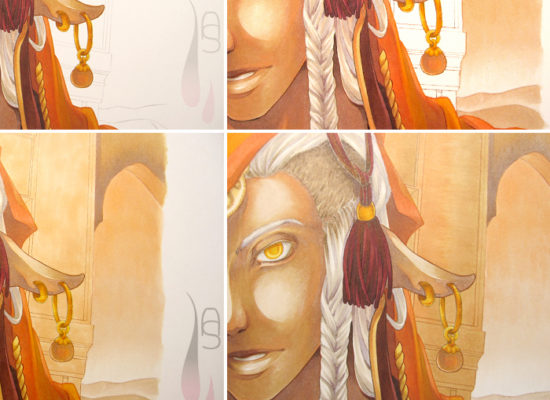
It is time again to get your markers out and to colour with them again. Having already talked about how to colour eyes, it is time to cover skin. Picking the right skin colour can make or break the picture in terms of liveliness. You want to avoid colours, which make the overall impression dull, or looking as if theres a coloured haze hovering over the image. Don’t always stick to the same colours. Choose them in correspondence with the other colours instead. By now you should know my mantra, plan your colours in advance.

Step 1

With so many different tones available in skin colours, you should pay attention towards which spectral colour they are leaning. After using markers for a long time, I have come to the conclusion (though this is my personal opinion), that there are 2 groups of skin colours. The two groups contain colours, which either lean towards yellow or have reddish tint to them. I always opt for visual interest, hence I choose a skin colour contrasting some of the other major colours in an image. It is not a stark contrast, but visible enough.

A tutorial on how to colour light skin with markers.

 
This athletic guy here is on his way to beach. He carries a swimming ring, which casts a bit of its colour onto the skin. The same goes for the towel. I used a very light green and a cool, almost purplish light blue. I applied the colours with light feathering strokes of the brush nib, so that I could blend them together with the base colour.

A tutorial on how to colour light skin with markers.

 
For the base colour I picked a very light reddish skin tone, because his hair does have a yellow tinge and I wanted to avoid him looking too yellow. The reddish option here creates more contrast. In this step I didn’t need to pay too much attention to the light source for filling in. I only left some paper white ‘shine’ through on his forearm and left out a sharp white rim where the sun hits the hardest.

Step 2

In order to avoid him looking like a lobster with too many reddish skin tones, I applied a yellowish light skin tone close to the tonal value of the base colour. This also ties in his hair colour better.

In this step I started to shape his muscles and I started building shadows. Most of this shading process needed soft edges, so I used the base colour to blend it better into the ‘ground layer’. This whole step was done after the first layer completely dried, though applying this 2nd layer had to be wet to achieve the even result in blending. I also went over the blue and green areas as the colours will show through very lightly, which was wanted.

A tutorial on how to colour light skin with markers.
Step 3

Sunlight usually produces harsh lighting situations, light colours appear really light and shadows can be very dark. To emulate this effect I focused on the shading of his skin without over-sculpting his muscles. In order to bring some life back into the skin colour, I picked a light rosé beige and applied it in the shadow parts, blending it into the colour underneath with a slightly darker beige/yellowish skin tone. Again, my main objective was to create soft edges instead of sharp edges; I only added a few sharper ones to shape his nose or to give certain muscles more volume.

A tutorial on how to colour light skin with markers.
Step 4

The last step was to apply the darkest shades to the skin. I am a huge fan of purples, as they do the job of shaping skin beautifully. They leave behind a trace of colour and tone down areas, which are over-saturated. For me they are the perfect colours for deeper shadows on skin.

With a greyish medium purple I added mostly sharp edged shadows. The deepest shadows are present underneath his fringe (and hat) and directly underneath his chin. To darken the purple even more I applied a slightly darker, more reddish purple with light feathering strokes on top.

A tutorial on how to colour light skin with markers.

 
With only the skin finished the image does indeed look odd. The eyes aren’t finished, nor is the hair shaped at all. In my head I know what the picture should look like, so I took the liberty and coloured his hair and eyes too. I hope this looks better now. Skin and hair colour work out quite nicely.

A tutorial on how to colour light skin with markers.

 
I sincerely hope this tutorial helps you in choosing the right colour for the skin, as well as giving you a guide on how it can be shaped. The colour combinations are endless. Try them out. Until next time!

 
© Aileen Strauch, first published on the Letraset art blog in 2013