Tutorial

COLOUR | Banana
  • tool: markers + coloured pencils
  • difficulty: medium

Hello and welcome to another tutorial on the basics of colouring with markers. This time around it’s not really manga and anime themed, but more on the general side. It is getting warmer outside and we all like fruits, I hope. So I wanted to start with something easy and colourful, a banana. I know the ‘edible’ degree of ripeness differs from person to person. So I decided draw a banana, which still its green on both ends. Let’s get started.

Step 1

For this step it is important to pick very light, almost pastel-like colours. These also make the blending easier. Pick a very pale yellowish green and apply the colour on both ‘ends’ of the banana with feathered brush strokes. Then use the light yellow and start closer to one end and blend the yellow with a few brush strokes into the green. Do not wait for the colour to dry and ‘go’ with the colour into the other direction.

A tutorial on how to colour a banana with markers.
Step 2

Pick a second yellow-green, which is slightly bolder than the first one, and darken the green ends of the banana while using the first green to blend the darker colour into the one beneath. Repeat the same process for the yellow part with a slightly stronger yellow.

A tutorial on how to colour a banana with markers.
Step 3

With the basic colouring done it is time to add shadows and to shape the banana a bit more as a three-dimensional object. Utilise the brush nib of a desaturated beige and add a sharp edged shadow on the ground and on the lower banana. Then shade a few parts of the banana to give it a bit more shape. Be careful not to get carried away and to paint over too much of the underlying yellow.

A tutorial on how to colour a banana with markers.
Step 4

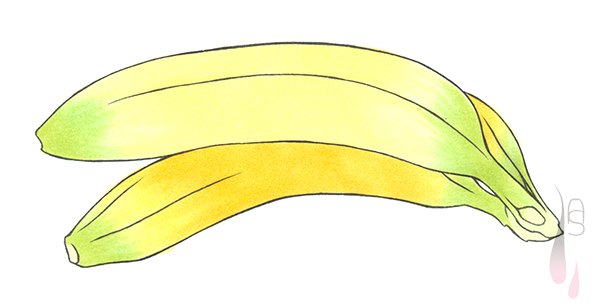
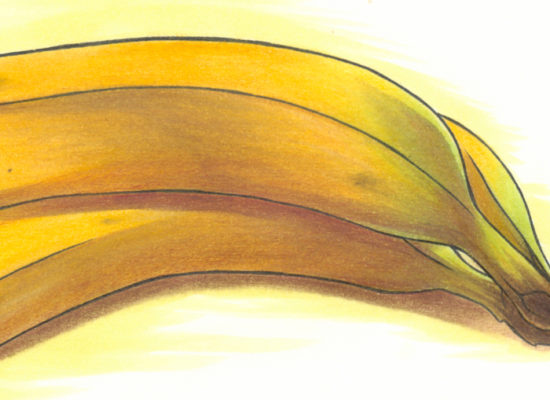
Ideally I would have another picture before this finished version below, but unfortunately due to a little accident it got deleted. I will try my best to describe it.

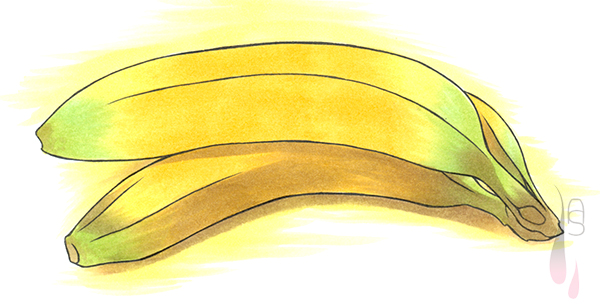
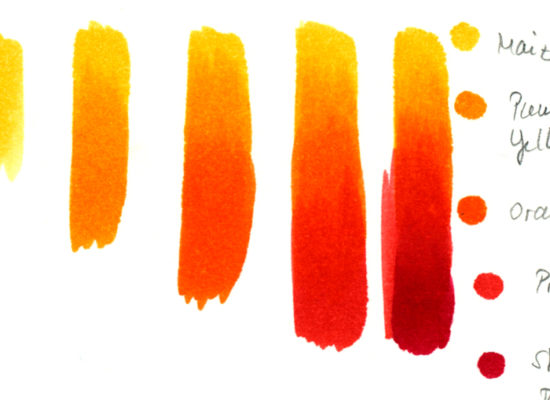
By now the whole picture of the banana looks a bit lifeless and less colourful because of the beige. This step brings back the colour and adds a bit of contrast as well. Pick a stronger yellow with an orange tint and apply the colour over the beige shaded parts and hard edged shadow on the banana, yet leave out the shadow on the ground. If needed, you can take the pale yellow to blend the strong yellow into the underlying colour. Do the same with the pastel green on both ends of the banana. Then add a bit of a medium and dark brown.

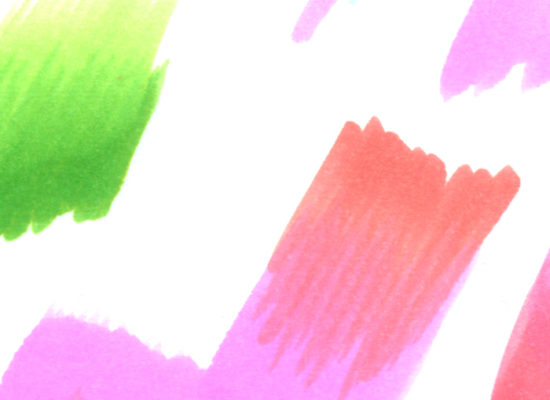
The shadow on the banana still looks a tad bland, choose very desaturated medium pink and apply it over the hard edged shadow. This adds a bit of contrast; remember, yellow and purple are complementary colours.

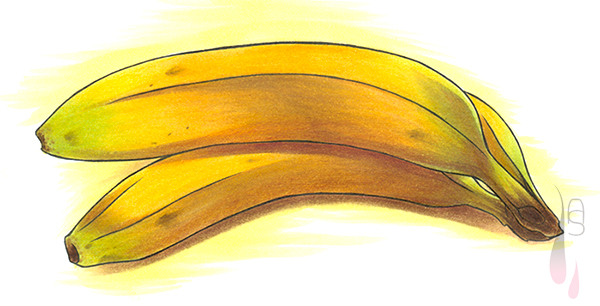
With this the major colouring is done. In case you want to take the picture a bit further, bring out your coloured pencils and add those final details. Use cadmium yellow and burnt ochre to give more texture to the banana. A darker, yet desaturated brown can be used for the small speckles. Put a bit of magenta and a raw umber in each designated hard edged shadow; only press lightly onto the paper, or the colour will be too strong.

A tutorial on how to colour a banana with markers.

 
I hope you enjoyed this tutorial and the tiny deviation from the manga and anime themed pictures. Until next time!

 
© Aileen Strauch, first published on the Letraset art blog in 2014