Tutorial

BASICS | Shiny Hair
  • tool: markers
  • difficulty: medium

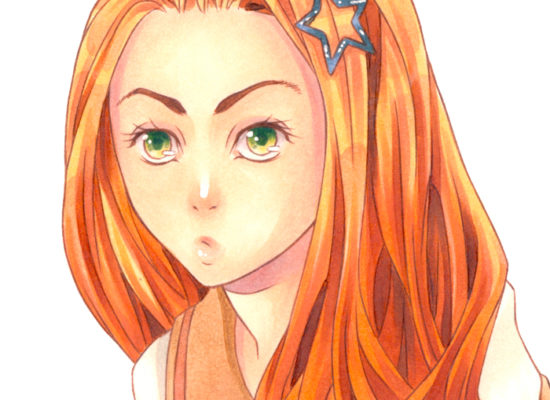
Welcome back to another tutorial on hair. In a different post I wrote about short straight hair, and this time I want to focus more on shiny hair. There are many styles on how to portray shiny hair, yet I want to look at it in a more realistic way and not as simplified as you can see in many anime or manga illustrations. This doesn’t mean you can’t try the simpler stylised approach of course.

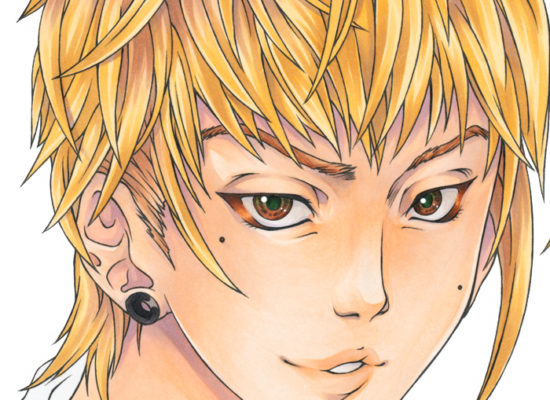
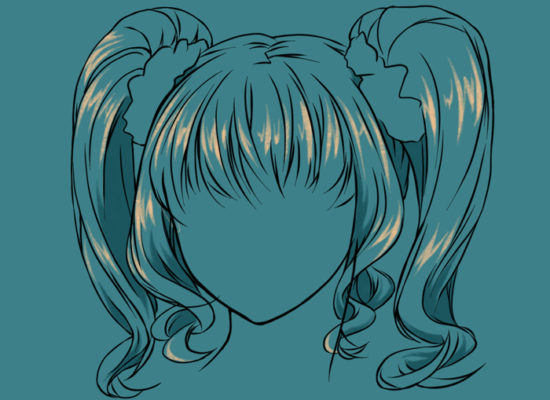
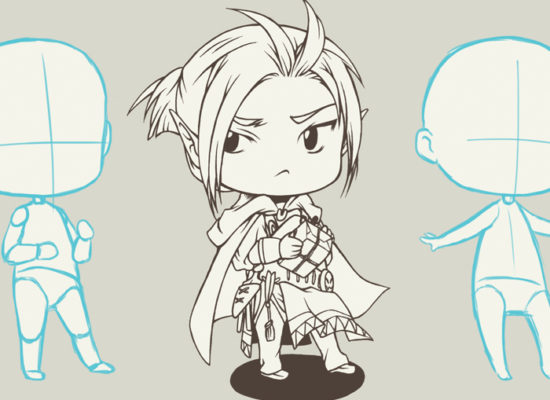
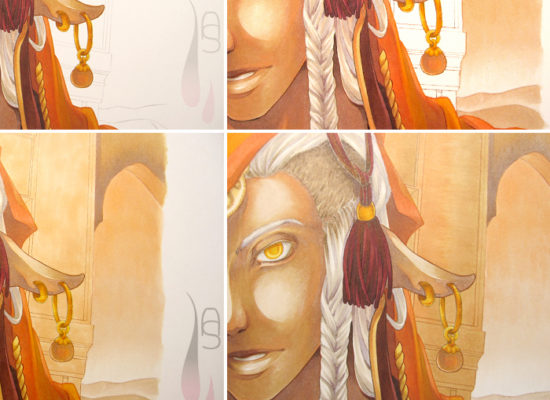
Well then, let’s start with the colouring of the hair, which is still left blank in the picture below. Since I wanted to have a softer look, I drew brown outlines for her.

A tutorial on how to colour shiny manga hair with markers.
Step 1

In this step I divided the base colour into two different colours. In the finished picture I want the hair to look lighter on the top than on the roots. With that thought in mind I used a light desaturated yellow for the top and a peachy orange for the bottom part. Since the two colours are rather apart from each other for them to blend seamless, I used to the brush nib from from a light peach and flicked it with an upward motion into the yellow while starting on the peachy orange. I coloured the strands individually to avoid working on dried colour. The blending works best while to colour is still wet.

A tutorial on how to colour shiny manga hair with markers.
Step 2

It was then time to add the shine. On top of the yellow I applied the the same light peach as in step 1 to bring out the highlight of the hair, leaving out some of the yellow underneath. I started with the sharp ‘edge’ to the ‘imagined highlight’ and let the colour feather out to the opposite side. Then I repeated this several times until I had all of the yellow hair part covered. Remember, you can’t lighten up marker colours, so you have to start with the lightest colour and apply more layers to darken it. I used the same principle for the bottom part of the hair, yet with an orange on top of the peachy orange. In the area where the yellow and the orange met, I used the brush nib to simulate finer details on the hair strands with the brush nib (pointed lines).

A tutorial on how to colour shiny manga hair with markers.
Step 3

In order to create more depth in the hair I darkened the strands of hair with a medium beige first (top image). In the shadowy areas I added a bright reddish brown in order to bring some redness back into her red hair (top image). With this the hair was nearly finished, though it was missing that last definition of the hair strands. For the deepest shadows I picked a desaturated brown and applied it only in very few areas (bottom image).

A tutorial on how to colour shiny manga hair with markers.

 
I hope this hair tutorial doesn’t look to complicated, but if you break up the colouring into logical steps, it should be easier for the colouring. Just think about what colours you want to choose and make a quick colour sketch beforehand to avoid any mismatches. Until next time!

 
© first published on the Letraset art blog in 2013