Tutorial

BASICS | Eyes
  • tool: markers + coloured pencils
  • difficulty: medium

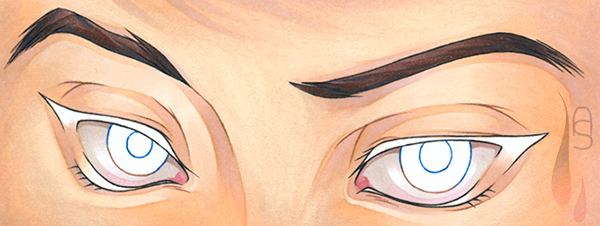
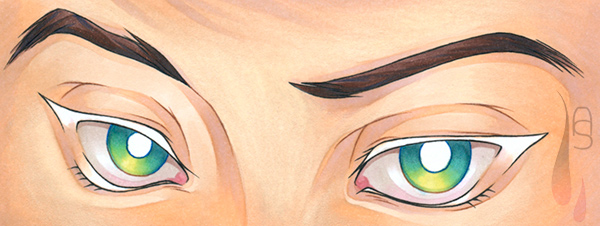
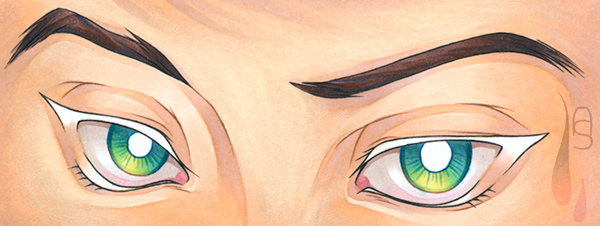
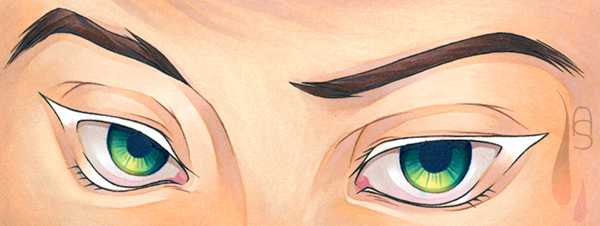
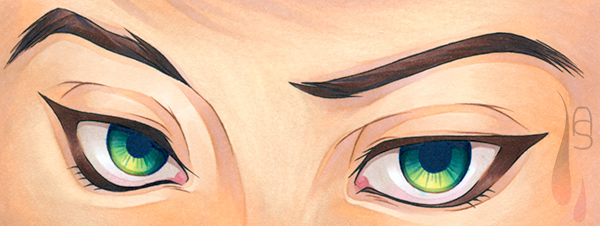
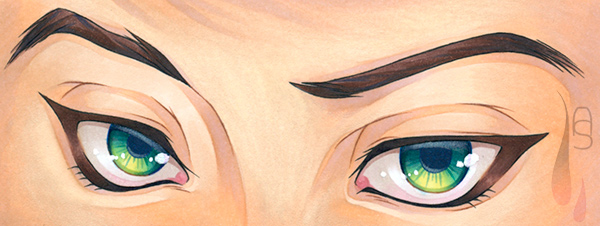
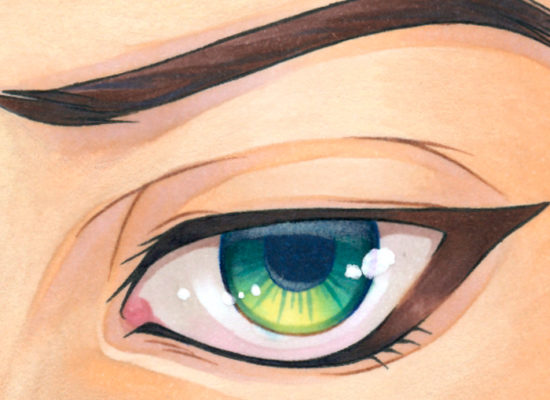
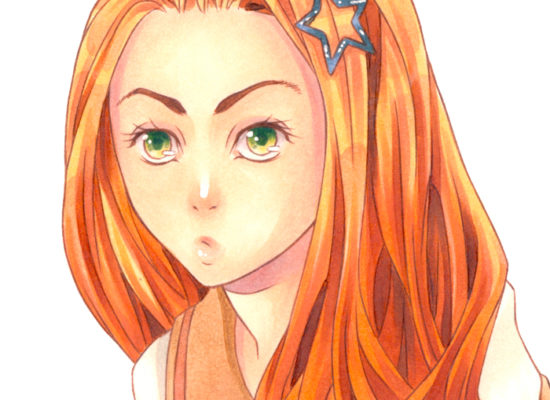
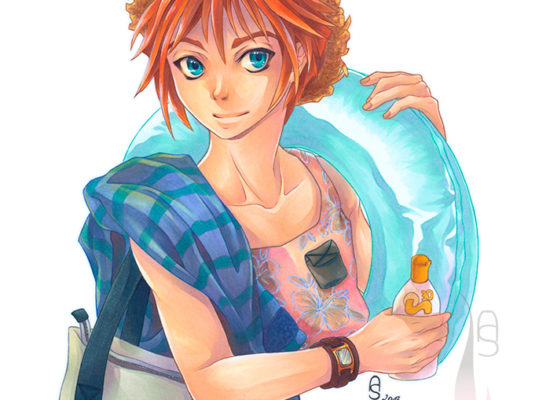
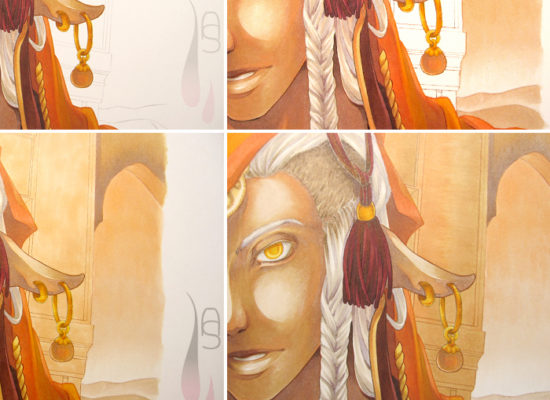
Today I want to talk about colouring eyes. When it comes to the Manga/Anime style, the eyes are one of THE defining characteristics. It doesn’t matter whether they are simple or extremely intricate, but they add character to a person and should be given some thought. I know that there are many ways of drawing Manga/Anime eyes, but I like to keep mine on a somewhat realistic side. So let’s start with some things to consider…

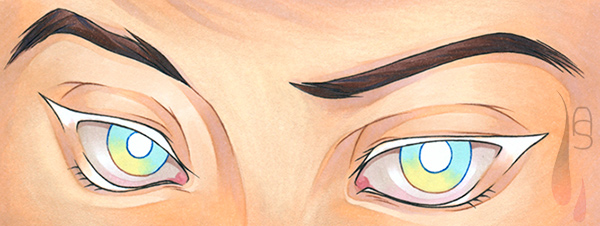
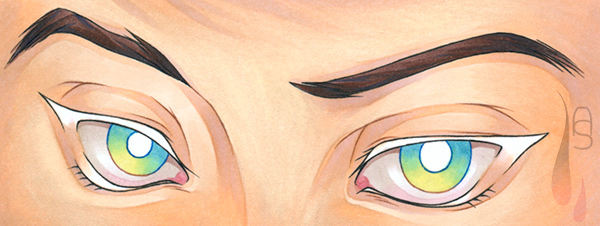
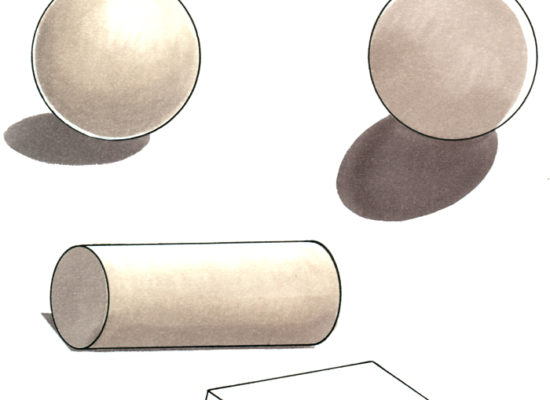
Even though the drawing is 2D it is more or less depicting a 3-dimensional object, hence the shape plays a big part in the shading. The eyeball is shaped like a ball and sits in the eye-socket, while all is coved with muscles and skin. The curved surface of the eyeball is partly visible, but it also adds ’roundness’ to the skin area around the eye. Another point I would like to make is that the direction of the light indicates where shadows and highlights should be.

A tutorial on how to colour manga eyes.
Step 1

As I have mentioned above, the eyeball has a curved surface and therefore shadows do appear. The white of the eye should not be completely white, because it would look unnatural. I started with a very light purple to give a hint of colour. With the brush nib I started from the upper eyelid with a flicking down motion and vice versa from the bottom eyelid. This created a slight gradient like this: light purple – white – light purple. Now the purple was too strong to be kept as it was and I added a very light warm gray on top, though defining the round shape a bit more.

A tutorial on how to colour manga eyes.

 
With a light reddish purple (mainly on the bottom eyelid) and the same light warm gray as before I darkened the parts in the shadow. Since the area just beneath the upper eyelid usually has the darkest shadow, I used a medium ash colour for a slim dark edge. The last detail to add was the lacrimal caruncle with a muted pinkish colour.

A tutorial on how to colour manga eyes.
Step 2

I have divided this next step into a few pieces for a better understanding of the process. It may seem a bit complicated at first, so I tried to illustrate it with this little gradient scheme to refer back to. The overall colouring method for the eyes’ base colour were three separate gradients layered on top of each other. The end result is a colour combination as shown in the gradient scheme below.

A tutorial on how to colour manga eyes.

 
I also want to mention that all the blending was done while the colour was wet and I only waited for it dry before continuing with the next gradient. The first gradient consisted of two only colours, a light aquamarine and a pale citrus, for an even base to work on. I applied the light aquamarine and lifting the pressure with the brush in order to leave space for the pale citrus. I used the same technique for the citrus colour blending it into the aquamarine.

A tutorial on how to colour manga eyes.

 
The next step was to intensify the colour of the iris. This process was the same as above, only with more colours. I picked a slightly darker aquamarine, which I washed out with the light aquamarine, then a pastel green and the pale citrus.

A tutorial on how to colour manga eyes.

 
Last but not least was the last gradient for more depth in the shady area beneath the upper eyelid. I blended in a medium muted turquoise with the darker aquamarine and the light aquamarine. For the rim of the iris I used the darker aquamarine and the pastel green for the bottom.

A tutorial on how to colour manga eyes.
Step 3

Having achieved the desired colour intensity of the iris, I could start adding details to it. For this step I waited for the colour to dry completely, so that I could get sharp edges. I applied the muted turquoise and the darker aquamarine unevenly around the pupil with the very tip of the brush nib.

A tutorial on how to colour manga eyes.

 
The darkest part on the eye usually is the area just below the upper eyelid (mostly due to the lashes), which is why I darkened these parts with a medium saturated turquoise and a medium purple directly beneath the eyelid. Lastly I applied a dark navy blue to the pupil.

A tutorial on how to colour manga eyes.
Step 4

With the colouring of the eye more or less finished I moved on to the eyelashes. Most of the time I like to colour the eyelashes with the same colour as the hair and I try to avoid a pure black, which would only flatten the image. I opted for a muted medium brown, while darkening the inner corners with a darker brown and some medium purple.

A tutorial on how to colour manga eyes.

 
The only step left to do was to breath some live into these eyes with a few selected highlights. Without them the eyes would look rather lifeless. With an ivory coloured pencil I added a faint reflection at the top of the visible eye over the iris and pupil. For the stronger highlights I used a white gel pen remembering the direction of the light.

A tutorial on how to colour manga eyes.

 
I hope this tutorial wasn’t too difficult, but then again, there isn’t only just one way to colour eyes (mine certainly isn’t the only one). You don’t have to use as many colours as I did, you can even simplify the process if wanted. It all depends on the style you are going for. Try to experiment with the colours and see what results you like. Until next time!

 
© Aileen Strauch, first published on the Letraset art blog in 2013