Tutorial
BASICS | Curly Afro Hair
- tool: markers
- difficulty: easy
Before jumping into the next colour scheme on my list, I thought it might be a good idea to have a little break between such long tutorials and have smaller tutorials on basic colouring and marker techniques. Today is a special post, because there has been a request on colouring curly afro hair and I was asked, if I could write about it. So here it is, a mini tutorial on afro hair.
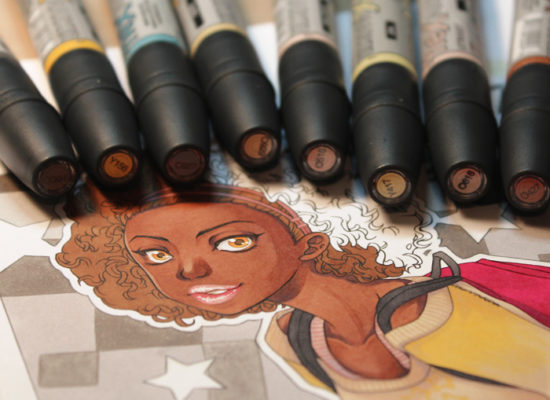
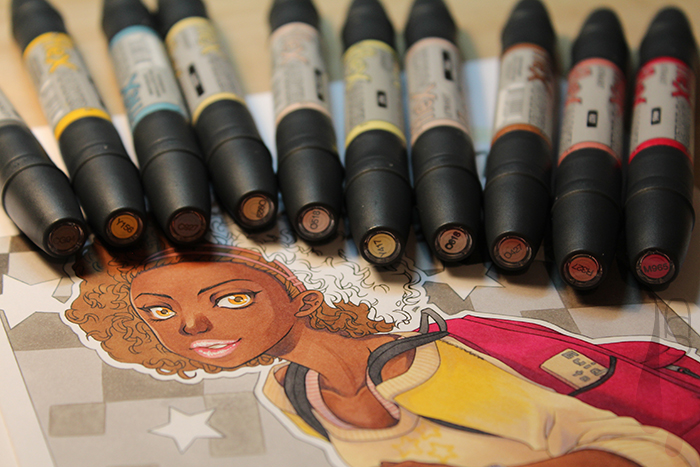
As I already mentioned in the introduction: this tutorial focuses on the hair only. I haven’t photographed all the colours I used, but these are the main ones (especially base colours) I picked to colour the picture.
Step 1
The base colour for the afro hair is a darker medium brown and I wanted to avoid pure black, since it makes the hair look flat and lifeless. It is perfectly fine to pick a darker colour as the basis, but it does function as the highlight as well, so there should enough leeway for going darker.

Step 2
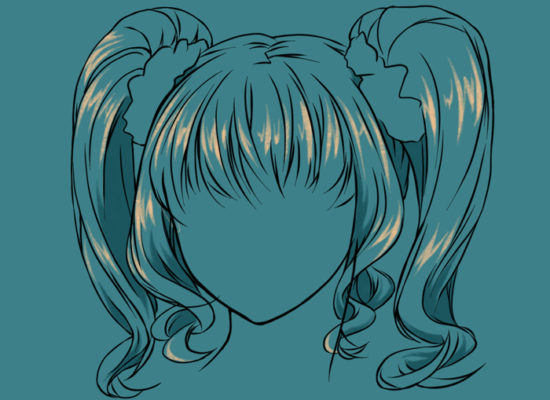
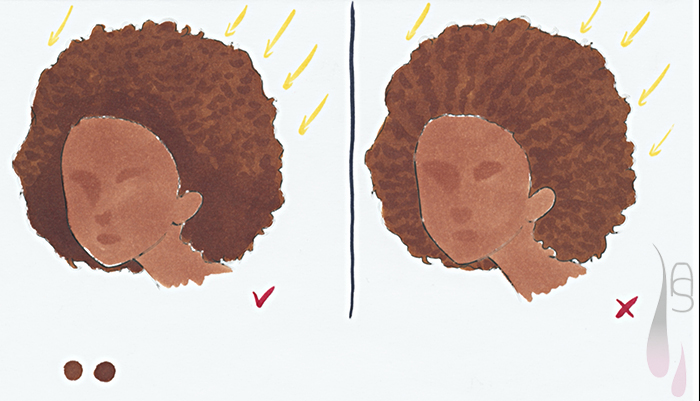
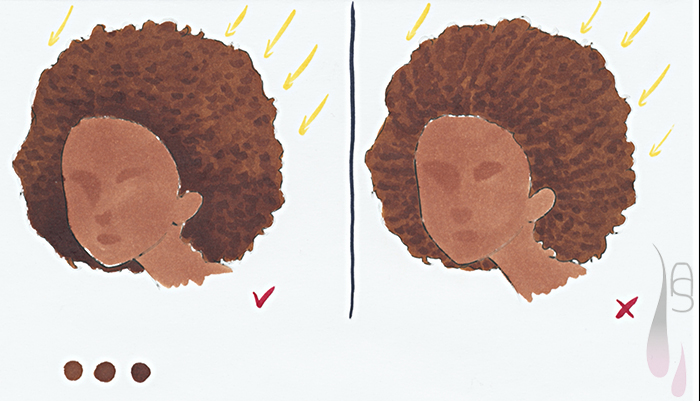
Key to colouring curly afro hair successfully is to think of the hair as a three-dimensional object, rather than a flat surface. It has light areas as well as shadows. Drawing every single stand of hair will not result in a better looking outcome either, just ‘hint’ at them. The 2nd image shows what looks better (top image) and what should be avoided (bottom image).
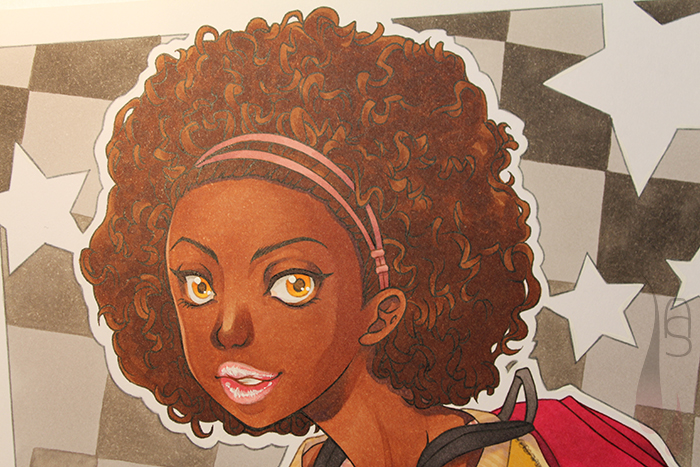
I started adding the volume with the same colour as the one I used for the first layer with the brush tip in small circular flicking motions.
Step 3
Now that the main shadow area was drawn, I applied a darker and slightly desaturated brown within the darker area (for better definition of the curls) and only sparsely on the top of the hair, where the most light hits.
Step 4
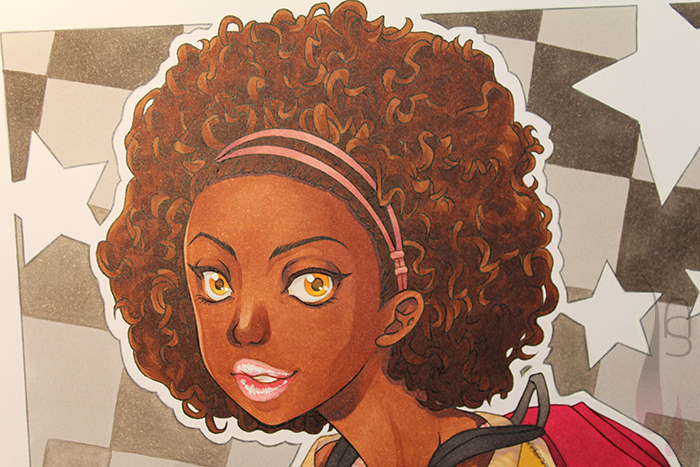
To finish off the hair I applied a dark rich purple on the very darkest parts of the hair, keeping it to a minimum. Again, I only added the colour mostly on the bottom side of the hair in the shadow. You my wonder why I picked a purple colour for this, but I like dark colours to remain a bit of vibrancy, which can be easily lost when using blacks or greys. Due to the brown underneath, the purple does appear greyish with a hint of purple, whereas a grey/black would make the colour look rather dull.
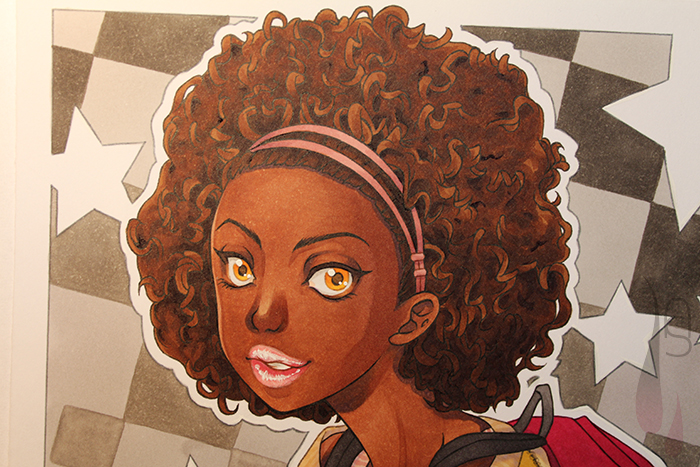

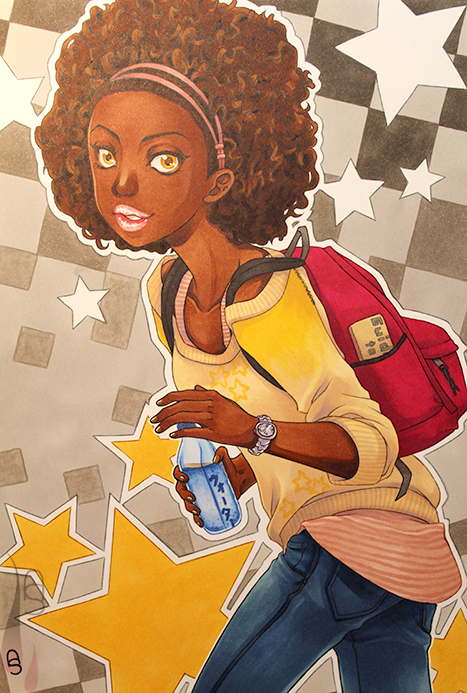
With the hair all done, just like the rest of the colouring, the picture was finished. I hope you enjoyed the little tutorial and next time I will talk about colouring hair a bit more.
© Aileen Strauch, first published on the Letraset art blog in 2013
